So, let's play catch-up now! I can't believe it has been nearly 3 weeks since I posted anything! I'll start with all the cooking we did and all other food related "stuffs"...

 While I was visiting in Central Oregon, we did a little shopping! (Okay, so that part isn't food...) I finally picked up something I have wanted for a while and just couldn't justify the price tag while at Ross', a blooming tea pot! The tea pot does not bloom...the little flower "pods" do! I would have preferred a different color of tea pot, lime green does nothing for me, but for $7 it came with 12 pods, so lime green it was! They did have a black one at the Ross' here in Spokane, but it was smaller and was suppossed to have only 3 pods, which had been removed...so glad I got the green one!
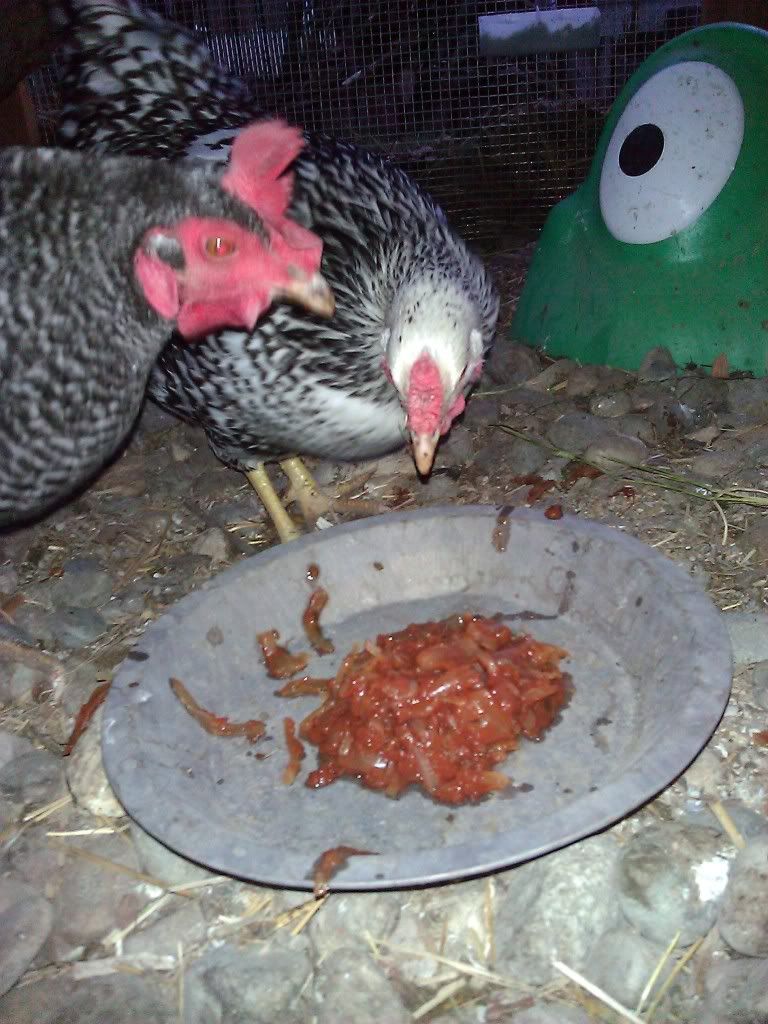
 I also bought myself a few other "kitchen gadgets" that I have been wanting for years...a Red Metallic French Press (no photo of that), it's a 20-ounce press though and I got it for $10! Also, a Toaster Oven! $24 (not on sale) at Wal-Mart, I was psyched! The $20 version caught my eye on an end-cap, but it did not have a tray...the convection version would also be nice, but it was $45! So far, my new toaster oven has roasted a small pumpkin, which I shared with my mother and the chickens (they loved it!) and 2 batches of Sugar Free Dried Cranberries (my own version of many recipes below)!
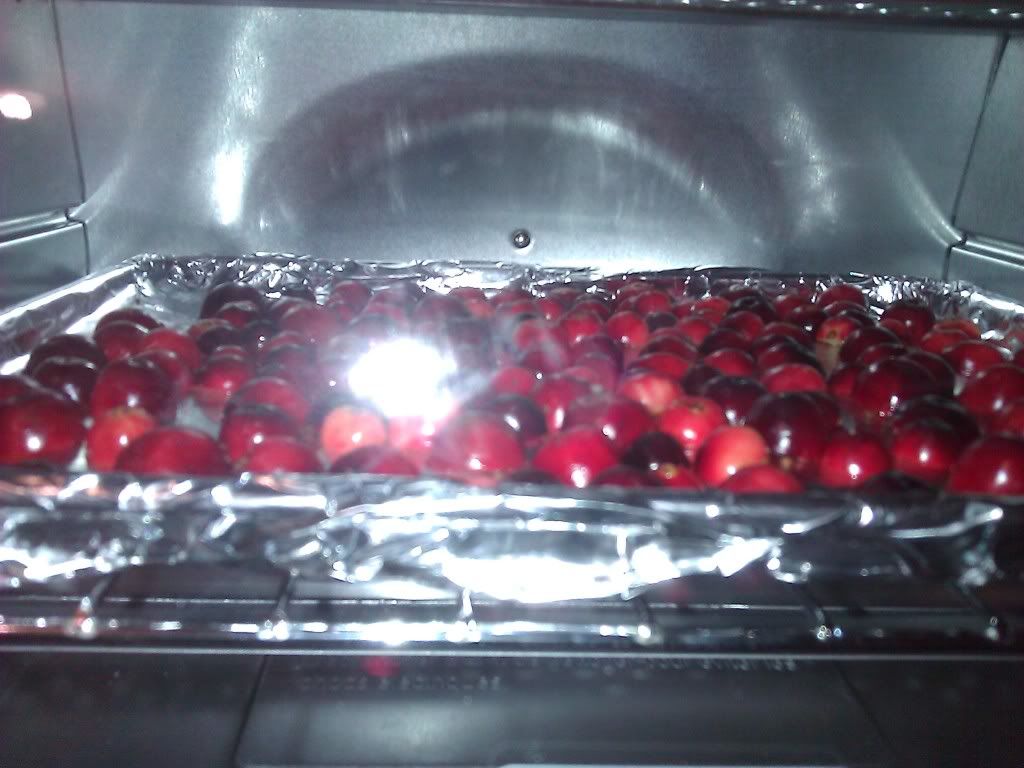 I made the Cranberries yesterday, but I want to start there since I want to show off my new shiny toy! Several recipes I found said to cook the cranberries so they pop...but I didn't want to. So, I spent a lot of time cutting my berries in half. A side note here, when cutting the berries, hold the two "ends" so you cut through all 4 interior air sacks for prettier dried fruit. While I did that, I picked out the ones with brown or soft spots...those went into a pile for the chickens, they loved those too!
 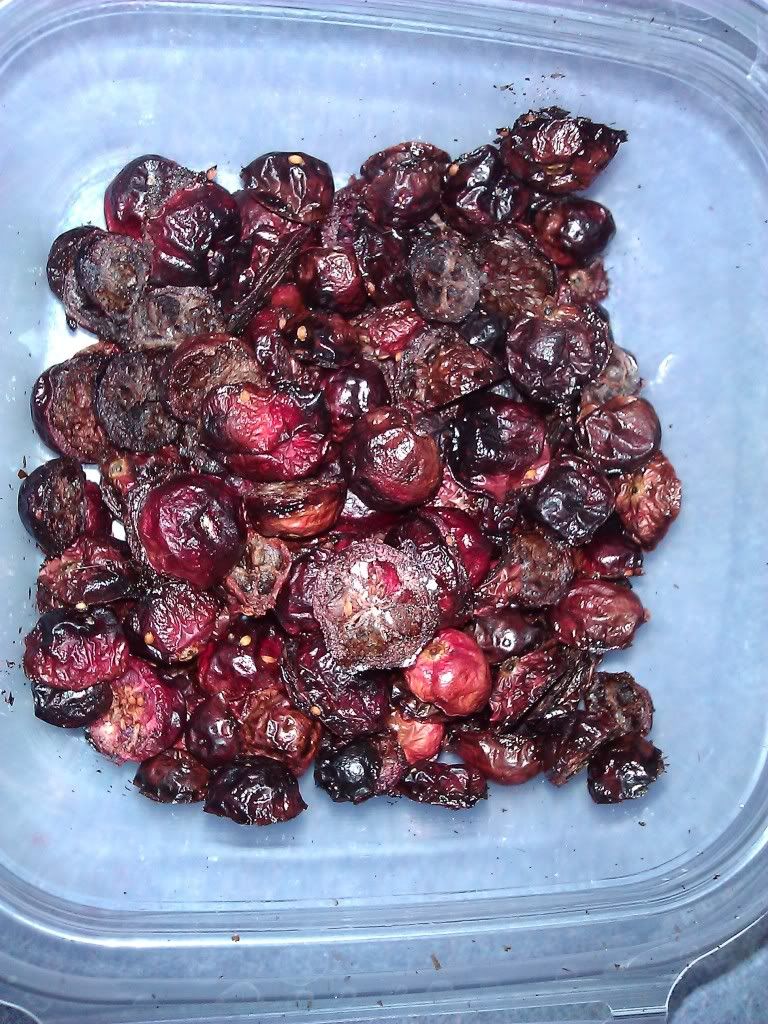 As I cut the berries, I tossed them in a small bowl where I had combined 1/2 cup of water and 1/2 cup of Splenda, sort of like a super-simple version of a simple syrup! For the first batch, I only let them soak for a few minutes, I was in a hurry to get a batch going! I lined my tray with foil, it makes clean up so simple! I also spent the time making sure each half was turned cut side down...I should have spent my time making sure they were all cut side up! They stuck horribly to the foil! At 300 degrees, this batch spent an hour in the toaster oven. They came out super crisp! I actually think these are perfect for grabbing 4 to 6 (think a pinch here) to just munch on...beware of the carbs here though! There are 4 net grams in 1/2 cup of fresh...I would count all 4 grams in 2 tablespoons of the dried because it concentrates all the natural sugars! Or 2 net grams per tablespoon, don't quote me though, I'm just guessing here! I made small batches, just big enough to fit in my toaster oven, roughly 1/4 of the bag each time.
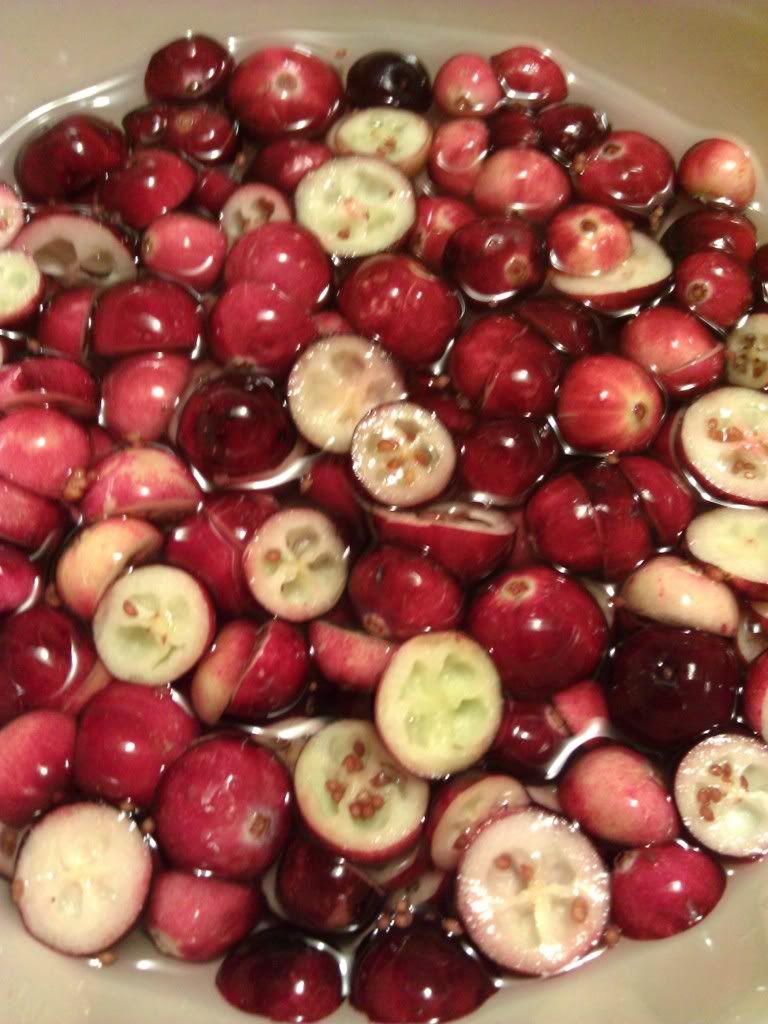
Dried Cranberries
- Aluminum Foil (to line your tray for easy clean up)
- Parchment paper (for even easier clean up!)
- Fresh Cranberries (Stock up in the Fall, these freeze and are still awesome in July!)
- Splenda
- Water
- DaVinci's Coffee Syrup (Still working on this, but there was a recipe I was that said to soak the cranberries in Blackberry flavor before cooking...I have Raspberry here just begging to be made into Raspberry flavored Dried Cranberries!)
Make enough "simple syrup" to cover the cranberries, for small batches (1/4 of the bag) 1/2 cup of water and Splenda worked perfectly. Save this after each batch! I have mine in a reused small Mayo jar in the fridge (I don't think it needs to be refrigerated, but better safe than sorry), it is now slightly pink in color, but it'll work great for several more batches of Cranberries!
If you are using your full-size oven, get it pre-heating now, depending on how patient you are 250 to 275 degrees...low and slow makes awesome dried fruit! If you are using a toaster oven like I did, don't worry about turning it on until after you put the tray in.
Now, start cutting your berries! This seems to be an optional step...the idea of using the toaster oven came from this blog, she didn't sweeten or cut the berries, just tossed them in whole (I sure hope she washed them). Others say to cook them and then flatten the unpopped berries with the back of a spoon...cutting them and soaking seems to me the easiest way of doing it since I wanted to sweeten mine. If you like them super tart, try leaving them whole! Remember though, if you cut them, hold the "stem" and "butt" ends against your fingers so that you cut across all the little seed-filled air sacks...they look way prettier this way (see photo above)!
While your berries are soaking in that yummy simple syrup (try not to drink it...I know it is super yummy, but try), get you cookie sheet or toaster oven tray ready for use. Line it with foil to protect it from all the sugary "goo" that will escape those berries! Now, cut a piece of Parchment paper to lay flat in the bottom of your tray/sheet, it'll roll until you have a few berries weighing down the corners, don't worry about it. Once your berries have soaked for as long as you can stand to let them (they do absorb the simple syrup, but it is a very slow process...30 or more minutes of soaking please), strain them out of the simple syrup. I did this by placing a mesh strainer over a glass measuring cup (so I could pour it back into the bowl without a mess) and then just dumped the bowl over it. After a few good shakew to get the excess fluid off, on to the parchment and foil lined tray they go!
I suggest turning all your berries cut side up to minimize the "sticking", it makes removing them so much easier! Once the tray is covered in your berries, put it in (turn your toaster oven on now) and set a timer for 30 minutes. I used the "stay on" setting on my toaster oven and the timer on my microwave...check on them at 30 minutes and then every 15 or so minutes after that until they look dry enough for you. They do get darker the drier they get, so watch out for the black ones!
Keep these in the freezer or fridge (mine are in the freezer, they take almost no time to thaw out), they are a little sticky still and have no preservatives, so kept on the counter, they may spoil.
In the past month or so, I have gone a little "low carb cookbook" crazy...I now own 4 of Dana Carpender's cookbooks! Oh how I love the recipes this woman comes up with! I have 300 low-carb slow cooker recipes, 500 low-carb recipes, 500 More Low-Carb Recipes, and The Barbeque cookbook! (I don't have the books in front of me...but google "Dana Carpender" and the amazing number of books she has written will pop up! With my Mother visiting, and also starting the Induction phase of Atkins, we went on a cooking and baking frenzy, trying out many, many dishes from the first three books (the barbeque book was purchased toward the end of her stay)! In fact, as I type this, I am enjoying a recipe we made from the "original" 500 recipe cookbook, yogurt! Yes, yogurt! For today's serving, I added 2 packets of Truvia and a packet of True Orange. It is still very tart, but very yummy! To make the yogurt is super simple too! I won't give away the recipe, but it is made with only 2 ingredients, water and milk powder! I had a distinct lack of a "warm place" to leave my yogurt overnight, so I invented one using an old system. First, I filled a cooler with a removable lid about half full of hot water, put the lid on it and went about making my yogurt...I was making a double batch to get 64-ounces of yogurt (half went home with my Mom). Once it was ready to go in it's "warm place", I dumped the water out of the cooler, placed the probe end of my wireless meat thermometer in the air space above one of the batches, and filled a gallon-size Ziploc with as hot of water as would come out of my tap. I didn't want the yogurt swimming all night, so this kept the actual water away from my mixture, but kept the cooler right around 90-110 degrees (in other words, "warm"). I set up my cooler out of the way and went about making dinner. The yogurt mix needs to sit in it's "warm place" for over 12 hours (mine went 14 and could have gone a little longer), so when I got up and had had a few cups of coffee, i was ready to check on the next morning! It's a little on the runny side still, but it is an otherwise perfect batch of plain yogurt! This is definitely a food I had missed in the past year of being a low-carber! The thought process behind re-adding yogurt is that when they calculate the nutritional information for yogurt, they are accounting for all of the lactose in the milk used to make the yogurt, however, the enzymes that "create" the yogurt, actually feed off the lactose, essentially "burning up" a good portion of the carbs, and bringing the actual carb count closer to 4 grams of net carb in a 1 cup serving. So far, I have had 1 cup a week for the past 2 weeks, I haven't noticed any weight change, so I am happy to add it back in to my diet, I just can't go crazy on it! No photos here, I got so excited to eat it that I totally forgot!
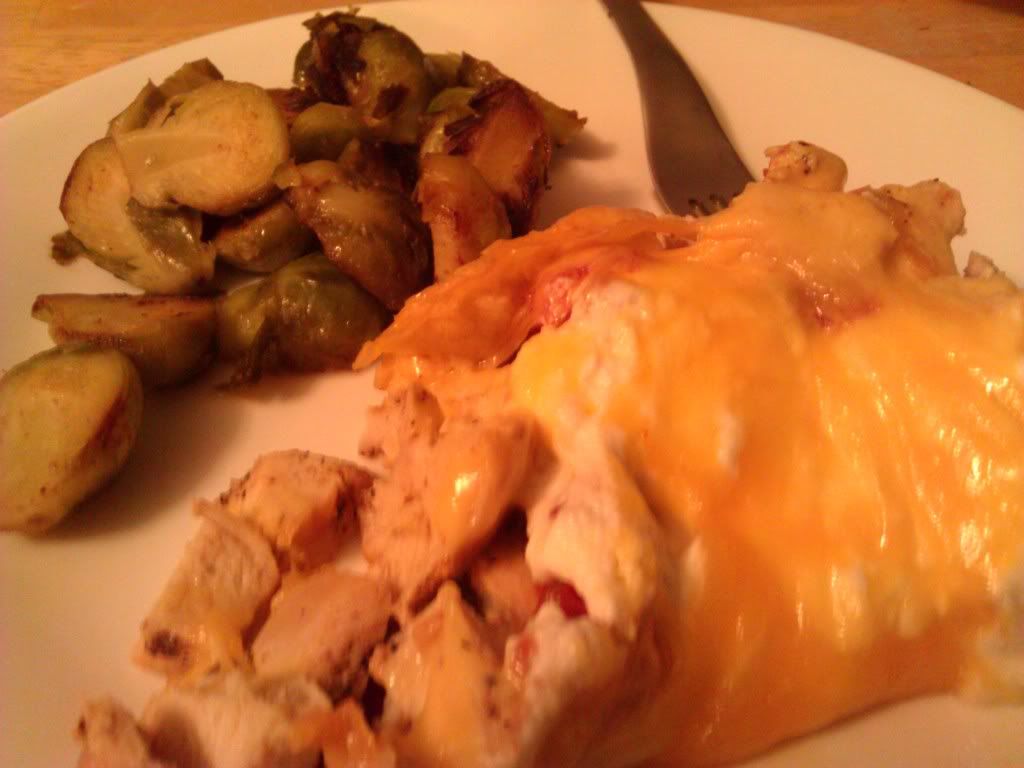 We made so many Chicken recipes! We actually went through 5 bags of frozen Chicken Breasts! This first photo, on the right, is "Yummy Chicken Casserole" and Brussels Sprouts (I forget which recipe we used for the Brussels' but it's in one of Dana's books!). In fact, we just had this again for dinner a few nights ago! With all the baking and cooking, we put several meals in the freezer.
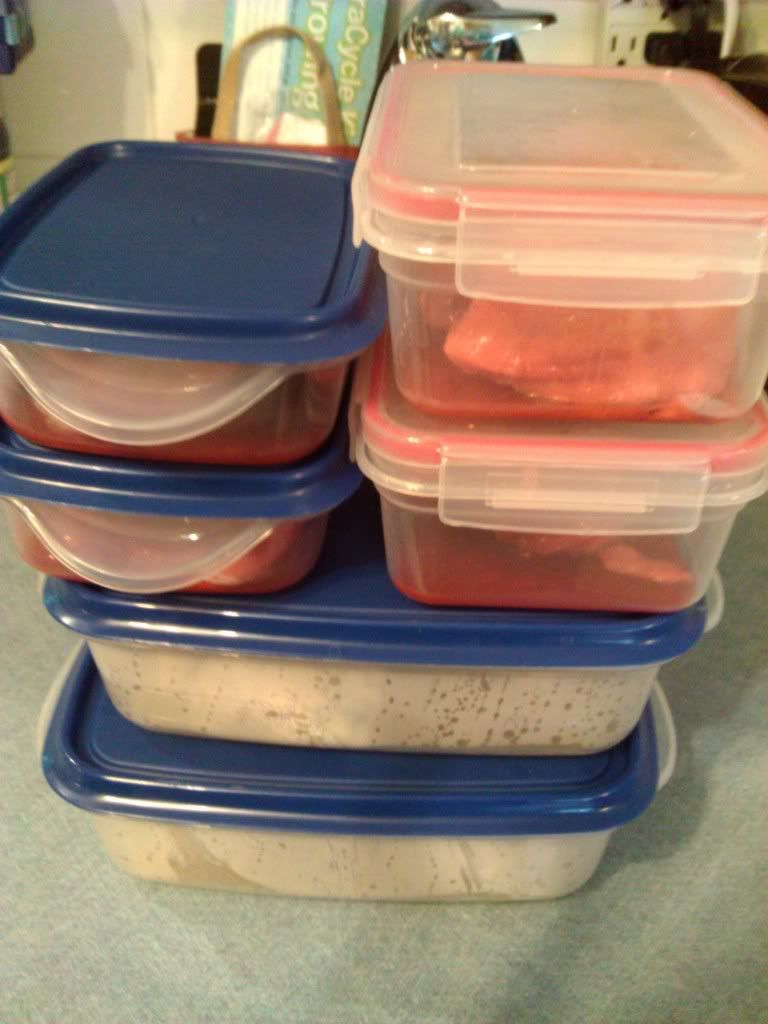
We shared all of the recipes that we made...we spent 2 or 3 days while my other half was out of town doing nothing but cooking chicken (and shopping...)! The two containers on the bottom have Spinach and Cottage Cheese stuffed Chicken Breast in them (I doubt my other half will touch that one, even if I blind-folded him) and the top 4 have Chicken in a Raspberry Cream sauce, except there isn't any cream in there...we opted to leave it out for freezing. When reheating this one, we just have to add 2 Tablespoons of Cream for each serving, and then simmer the sauce until it thickens!

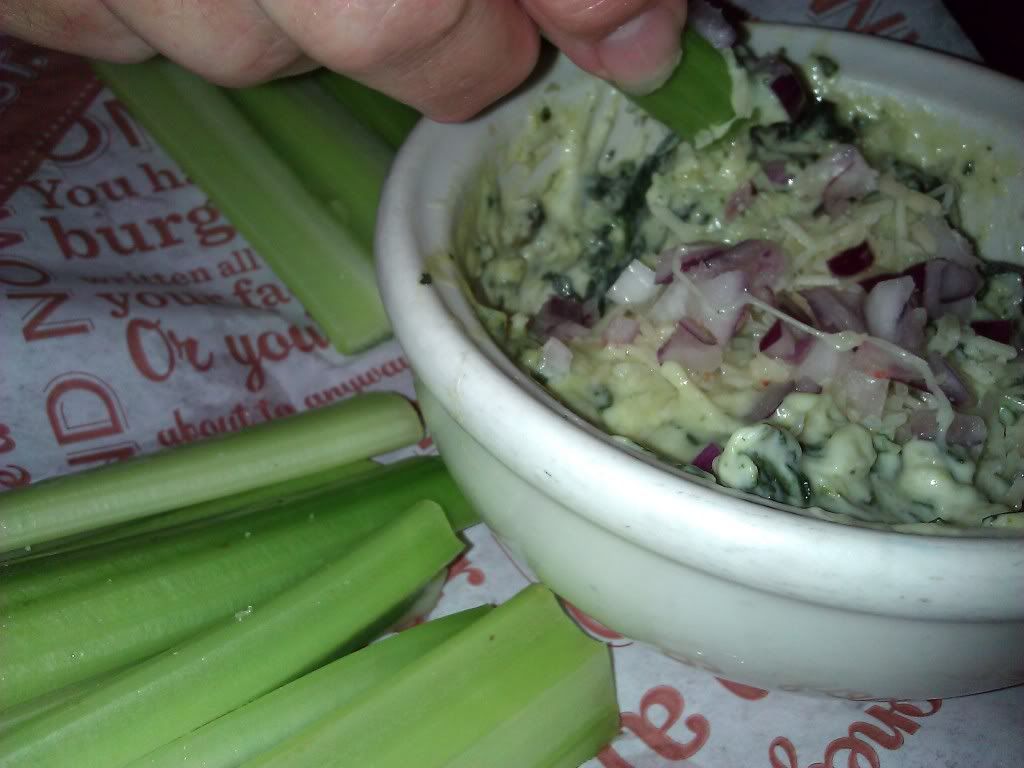
Yet another Chicken dish! In this one, you make a cream cheese and spices mix to stuff the breasts with, put them in a casserole and cover the whole thing in cheese! It was so good, but I can't remember what it is called! Our veg that night was a Cabbage recipe, again from one of the cookbooks, called Red Cabbage "something"..."someone" accidentally sliced up the wrong kind of cabbage, we bought both! It was still very yummy, just not a very colorful plate that night... The cup up in the left top corner is the cheese sauce from the chicken, we dipped the chicken in it too.
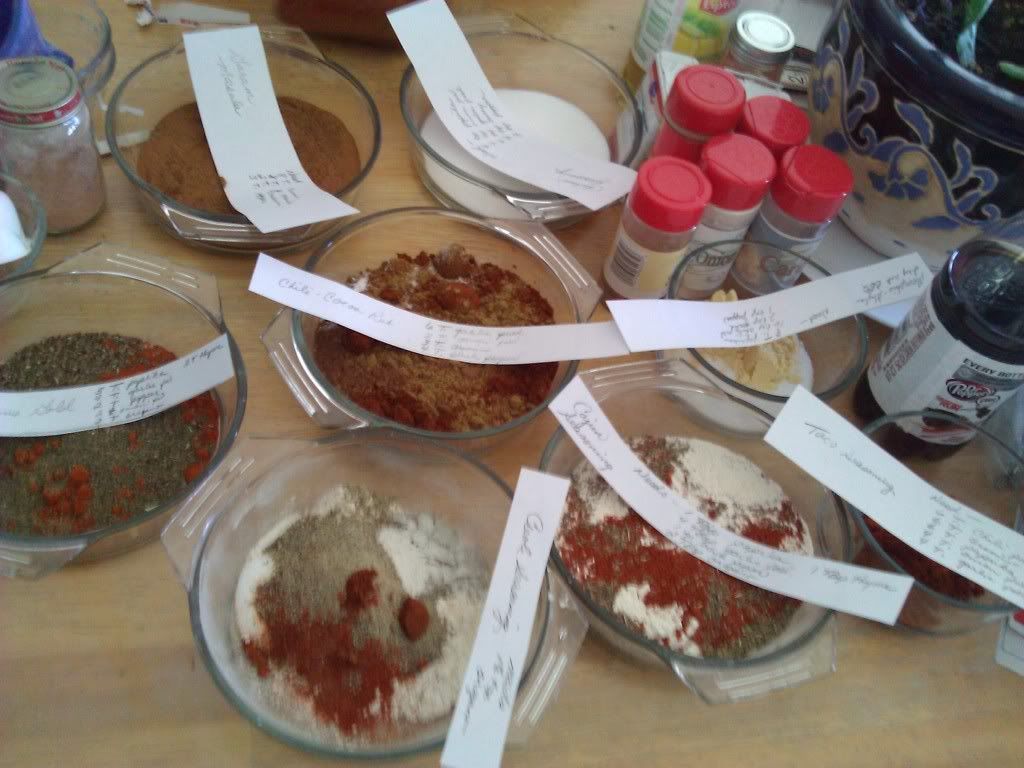
Along with all of our cooking, we made several different spice mixes! See all those pieces of paper? Those are what we ran out of and still needed in each mix!
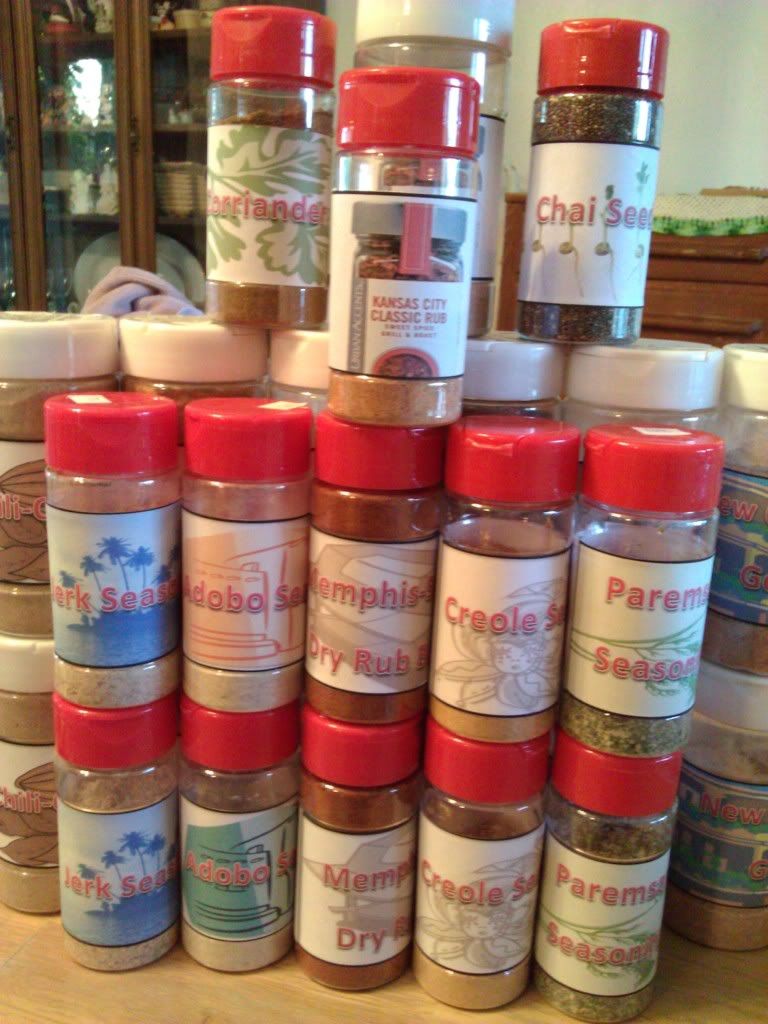
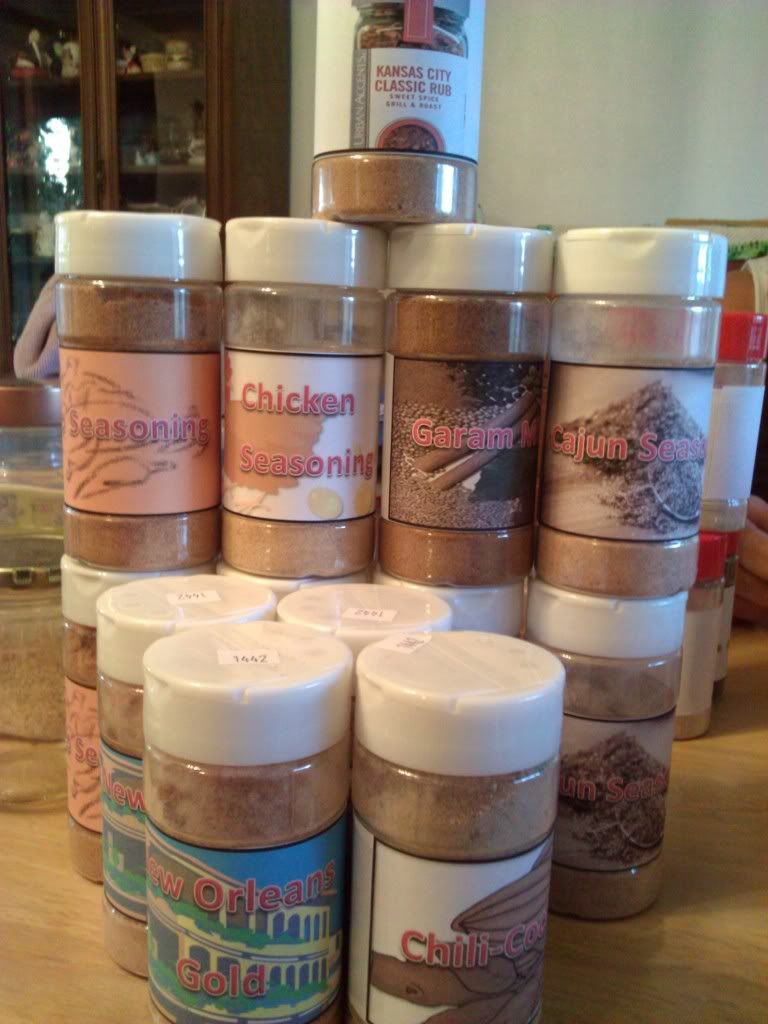 I get empty spice jars in the bulk section at Winco for $0.80 each that are plastic, I know Rosauer's sells glass jars for around $1.25 as well. Then, I print labels off from the computer, these I made with fun, colored pictures behind the name of each spice!
Then we get into the baking...there was a ton of that too! Of course, things were being baked, packaged, and put in the freezer so fast that I only managed to snap one photo! We made Butter Cookies (1g net carb each), Graham Crackers (I forget the carb count here, I'll need to look it up before I go snacking on them), and Peanut Butter Cookies (0.75g net carbs each...because we made them smaller than we were supposed to, had to do "fancy math" on the whole batch to get an accurate carb count)! If you pay any attention to the sorts of things I make...you can probably guess that sweets are still my Achilles heal...but having these around has really helped, as has a large stock of easy to snack on cheeses!

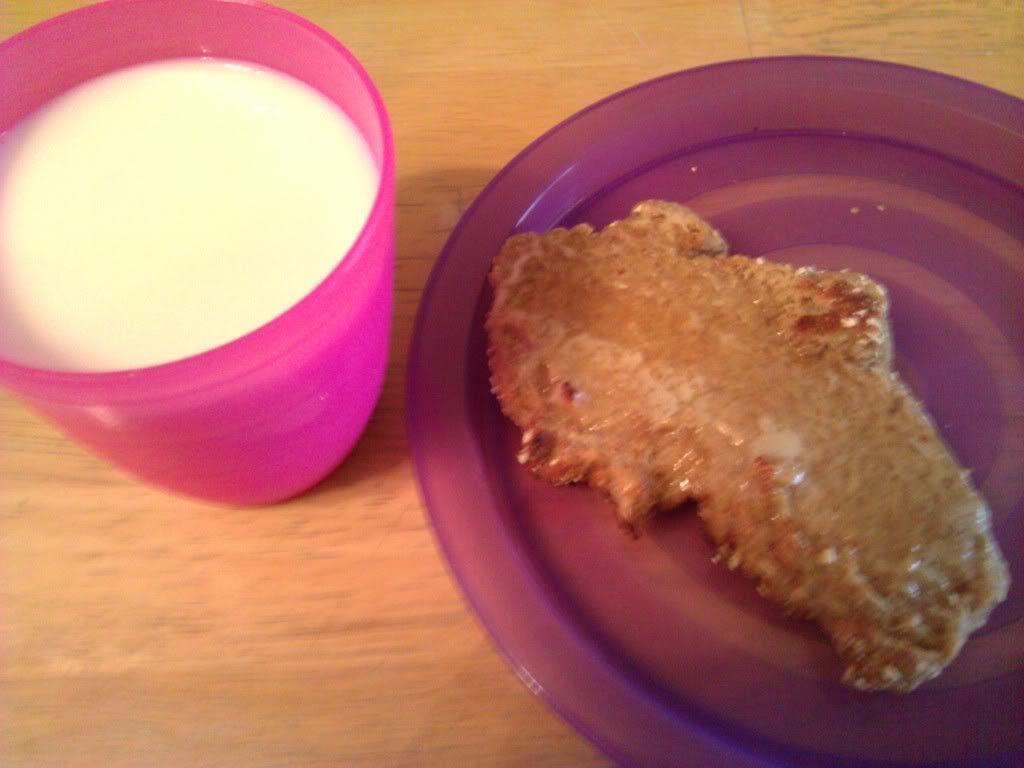
Besides sweets, we also made several batches of low(er) carb English Muffins! These are 7g net carb per half a muffin, but of so worth it! We share a single muffin...even if the other half gripes about it. This one was from the first batch where we followed the direction to cut them out using a biscuit cutter (okay, I used a pumpkin shaped cookie cutter...), to get all 6 muffins, I had to mash together the bits...they weren't pretty... For breakfast that day, we had a half an English Muffin and a glass (or rather 3/4 cup) of Calorie Countdown Milk! There is a Carb Countdown milk beverage, but I can't get it locally...Calorie Countdown has only 3g net carbs in 8 ounces, so I decided that was "close enough" for me...I needed it for a few recipes. We topped the muffin with Butter and "Fake" honey.

And that brings us to last night's dinner as far as catching up goes! Last night I made Slow Cooker Tomato Soup (also from the cookbooks)! It was super simple to make, few ingredients, and only takes 4 hours on low in the slow cooker! You strain the soup to get the bits of onion and bay leaves out and it makes for a very sweet tasting thin soup! I plan on adding a bit of cream to some for lunch tomorrow and see how it will work out as a cream soup. However, as is, it was awesome! We had Hot Links (Hillshire Farms smoked sausages) with our soup, I dipped my meat in the soup...the sweet of the soup complimented the spicy of the meat very well! And soups make for easy serving...coffee mugs! No need for spoons this way, it is especially fun if you have little ones around...soup can be tricky for a kid not to wear when eating from a bowl with a spoon! Heck, I know adults that have a hard time with that skill! We went the "easy way" with cooking the sausages too, since they were still frozen, we followed the microwave directions on the package. Wrapped damp paper towel around each link (the other half laid a damp towel down and sort of tucked it up between each link and then added another over the top), and microwaved for about 3 minutes total. The soup serves 6, but we got 2 servings last night and I have maybe 3 servings left...we are big soup lovers though, me more so than my other half!
No comments:
Post a Comment