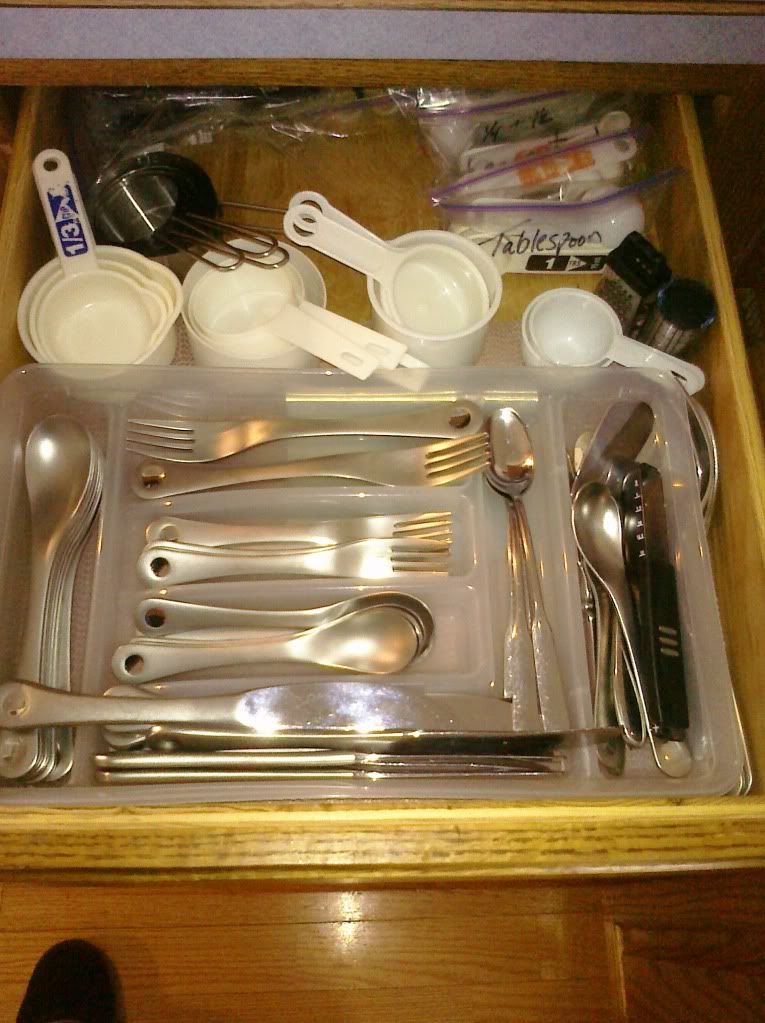
I got bit by the crafty bug today, I think. After sorting all 800 pony beads by color, I decided to go ahead and make a planter hanger to make sure I knew what I was doing when the boys are around this Spring & Summer. One thing I did remember (after the fact) is that you need a whole lot more string (in this cast twine) than you think you need! It worked out and I found a place that my"short hanger" will work well in though. My planter of choice that I was making the hanger for is an 8" Bamboo pot that I grew Catnip in last summer. These pots are really cool...they aren't meant to last forever though, so it's a good thing they are fairly cheap (I paid about $3 each for them last summer)! If you are in an area where you can actually plant things outside and expect them to live...these pots can be planted! The sticker on the side says that "once cracks start appearing" just plant the whole planter, talk about making transplanting easier! Anywho, before I got to working on that little project, we started a load of laundry and I finally got some non-stick shelf liner under my silverware tray! That stuff isn't going anywhere now! Yep...I have 4 sets of measuring cups...I almost bought a 5th set yesterday too! I really like having the metal ones (even if they are cheap and not very accurate) because I can metal butter in them on the stove! This works nicely for when I'm making pancakes or something, then I can just drizzle a little as I need it. I also have 5 or 6 "not full" sets of measuring spoons, as well as two different "adjust-a-measure" type ones. This is great when kids are helping or you need to measure wet & dry ingredients...not futzing around cleaning out the teaspoon!

With my "chores" started, I was able to start my planter hanger! I have a few colors to choose from (I bought two bags of assorted colors at the Dollar Tree), so I chose the "girly" colors that I figured the boys wouldn't want to use. I also decided I'd need a few more bags of pony beads before the boys got here so that I'd have enough of the colors I know they'll use up (Yellow for the oldest nephew & Red for the next one down)!

I used 4 lengths of Twine (about 4 feet long...should have used 6+ feet), you really want to use way more than you think you'll need! With all 8 ends together, find the center and tie a knot so that it makes the "loop" that will be the hanger. You could also use a small brass (or other type) ring, if you do though, tie each string on securely. I also wrapped the ends with a little scotch tape...if you have the time to get this far before working with little kids (and you have the patience to do it), you could also dip them in a little Elmer's Glue so that they are easier to bead with.
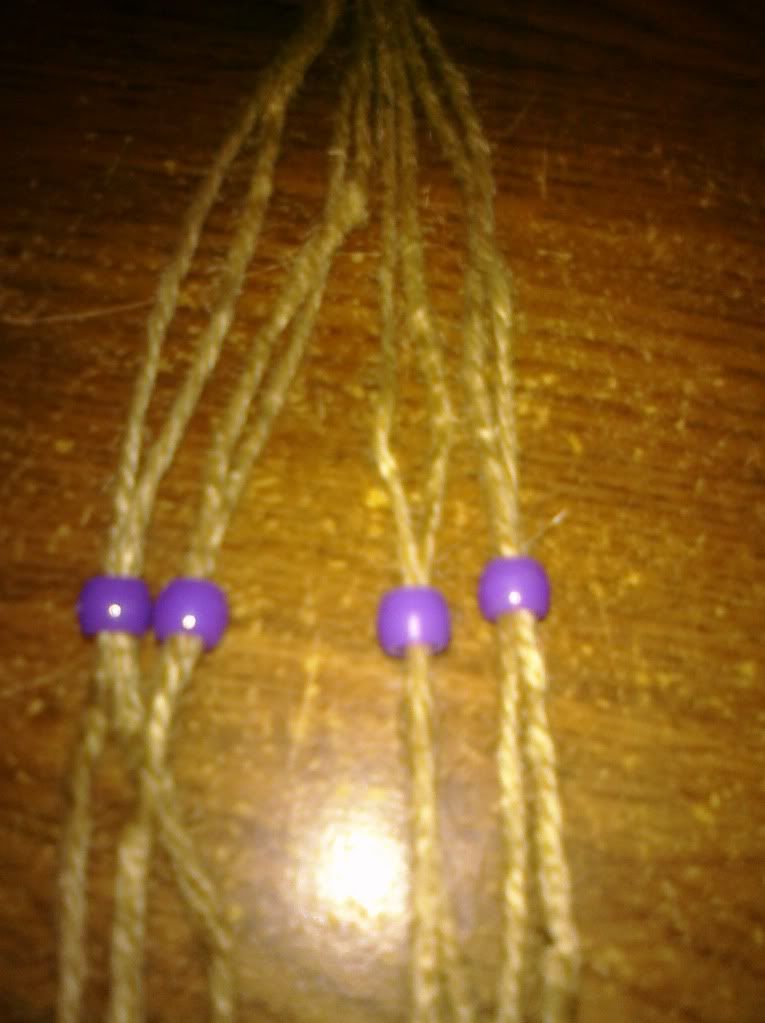 |
| First(top) row of beads. |
The beads I decided on were Light Blue, Pale Pink, and Purple! To start the top row of beads, figure out two strands that will hang naturally together and slide a bead on both of them (one bead, two strands) and do this so you have 4 sets of strands. These will be at the top of the planter, around the rim.
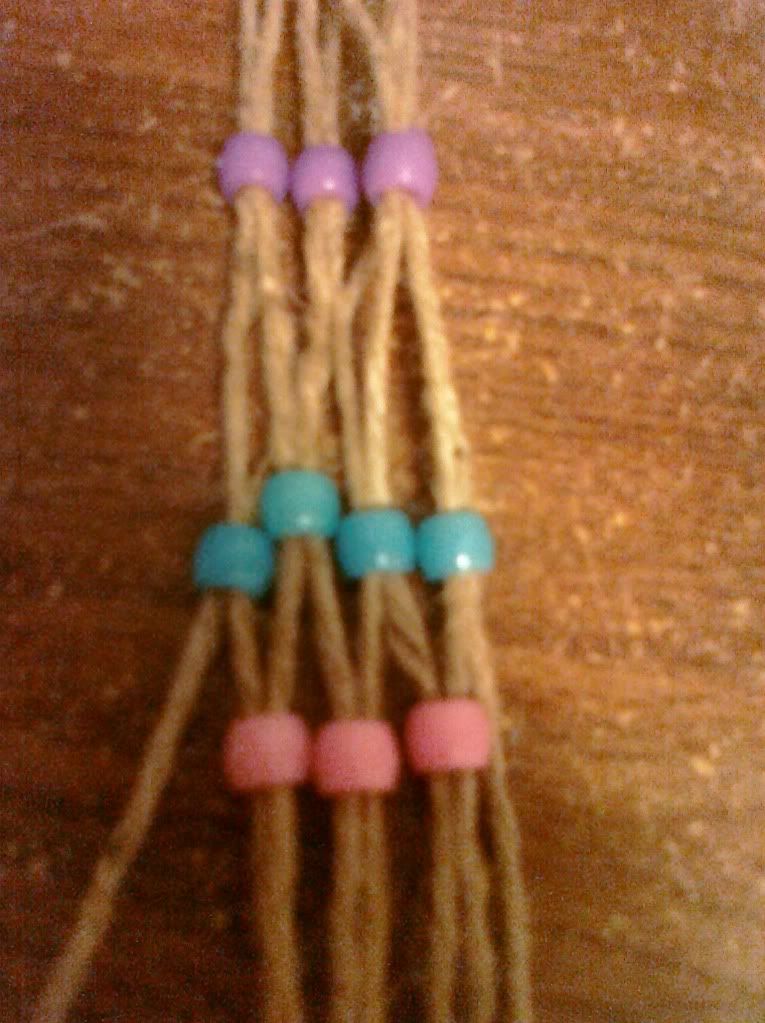 |
| Ready for the last bead in the third row! |
Next, I took my next color of beads and threaded the first bead onto one piece of twine from the pair on the right side. With the same bead, thread one of the strands from the next pair through the bead. This will make a "V" pattern when it's all done. I used three colors of beads for this one, so for the third row, use the same strands together as you did for the first row. That way nothing gets tangled up and your "V" and Diamond patterns turn out.
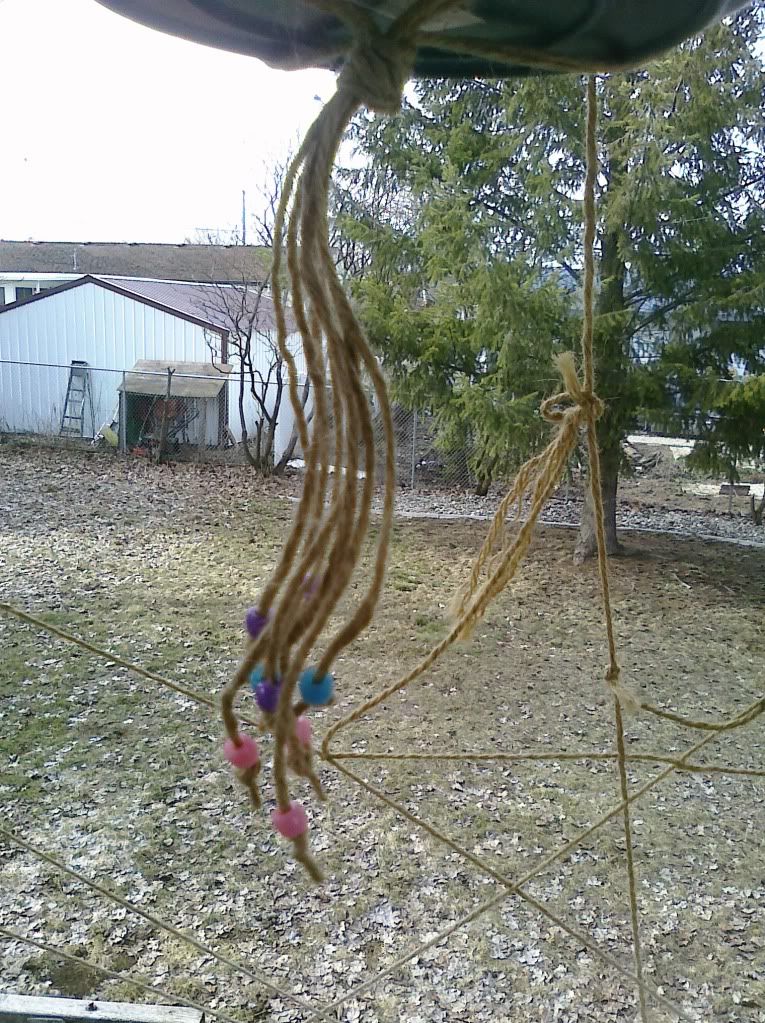
After all of the bead rows are on (three is pretty much the most I would recommend, but more could be really interesting...just plan for all that extra twine in the patterning!), it's time to tie a bottom knot. This is where the planter base will actually sit, so make sure you get that know extra tight! For this knot, I take all eight strands together and tie it in a big knot (nothing fancy here). After that knot is tied, I added a bead to each strand and double knotted the ends to hold them on. If you let the strands just hang, they unravel over the course of the summer and look kinda cool, but they tend to bunch up and look kinda blah too. I just cut the taped ends off near the knots to finish off the bottom. More bead work here would be nice and the added weight of more beads would make the individual strands hang a little straighter too.
The end product is good enough for me to use this summer, lol. But, for my remaining planters that still need hangers...I'll be making them longer! I have 3-4 that I need for my back deck and I plan on having the boys (who will be here) make them to give as Christmas presents to their Granmother and Mother this year. Last year we made picture frames (the odlest one did anyway), but never got the coasters made for the adults, out of foam sheets. We also got one pot holder made, but that craft was a little too difficult for almost 6. I also got "Scribble" paints so they can paint their own t-shirt/hat/apron/whatever I find for them to paint! I like keeping them busy while they're here, lol.
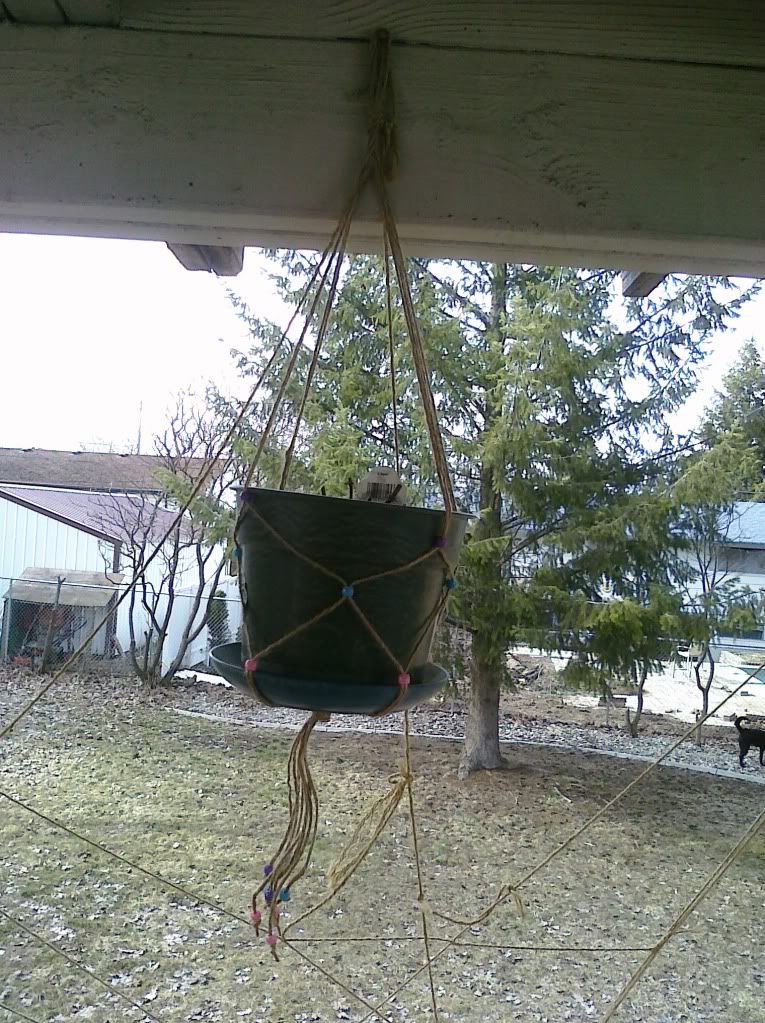
All the other twine in the background is still up from the tomato plants last year, I had them in the window boxes that hang off my back deck! This year I'm going to try cherry tomatoes hanging from the bottoms of the wire baskets with the coconut husk liners in them. Cut a small slit in the bottom, feed the root system up through the hole and anchor with dirt! Then, plant something else in the top, like Herbs or even flowers! Nobody said all plants have to grow "up". The window boxes are going to be for an "Instant Bouquet Garden" seed packet I got in the mail...I already have about 1/3 of the varieties in it planted, but we'll see how these do too!
Items used for Planter Hanger:
16+ Feet Twine (Yarn can work in a pinch)
20 Pony Beads (this is a minimum, more will be used if you get creative at the bottom)
Planter
Planter Base
No comments:
Post a Comment