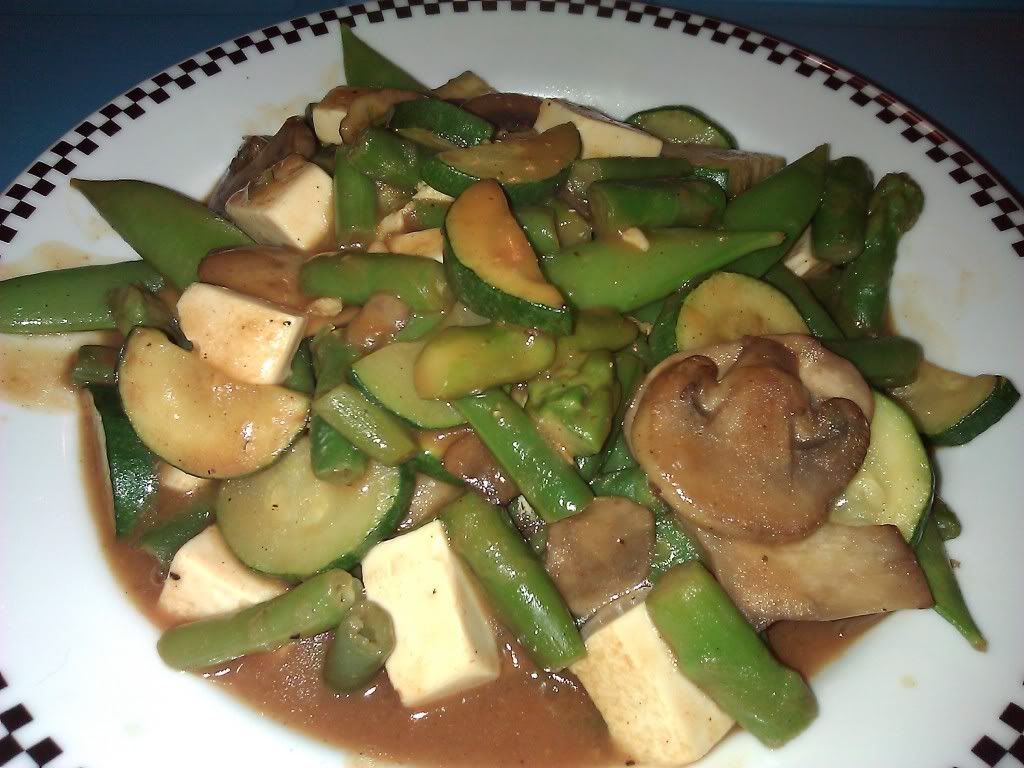
So, armed with enough veggies to make my other half have a panic attack, I started getting "dinner for 1" started! I started by blanching the Sugar Snap Peas (I just brought the water to a boil in the skillet I was going to use for the whole meal), got the Asparagus into a glass dish along with a handful of frozen Green Beans, and into the microwave they went. While everything cooked, I got a semi-dirty pan cleaned up and filled with cool water. I used the pan I had boiled eggs in earlier... To the cool water, I tossed in a large handful of ice cubes (mine are plastic reusable ones). When the microwave veggies had cooked for about 1 minute, I drained them and tossed them in the ice bath so they didn't over cook and get mushy. I gave the peas a little longer, but not enough to have them loose their "crunch"! Then, they were drained and added to the ice bath as well. Next in the pan was a little butter and Extra Virgin Olive Oil, followed closely by a sliced Zucchini and a good handful of sliced Mushrooms so they could get a little saute action going! Once they had browned up to where I thought they looked good, I dumped in all the other Veggies and let everything work together for a few minutes. Off to a bowl they went while I got my protein source cooking! Last night's protein was a serving of Extra Firm Tofu, diced into little bites. I got my package of Tofu at Huckleberry's (the local version of a whole foods store) for $1.70 on sale last week and hadn't had a chance to try it out yet (new brand). I forget the name and, of course, the box is now in a city dump truck heading for the incinerator! Anyway, it has 2g Net carbs per serving! A little more butter in the pan for flavor and to prevent sticking...a few tosses of the pan...and voila! A lightly sauteed serving of Tofu! Veggies went back in the pan to reheat and get all happy with the Tofu while I made up a batch of Sweet and Sour Sauce (from 24/7 Low Carb Diner), which I might add is way too much sauce for a one person serving! We shall see if it refrigerates well prior to cooking it, lol. I added enough sauce to coat and leave a little "soupy sauce" around the edges for extra dipping of my bites, which was about half the sauce batch.
It was so good! I have fallen in love with Chinese 5 Spice! I did find it was excellent in Rhubarb sauce straight off the stove, but a little too "peppery" if you let it cool off for 15 minutes or so!
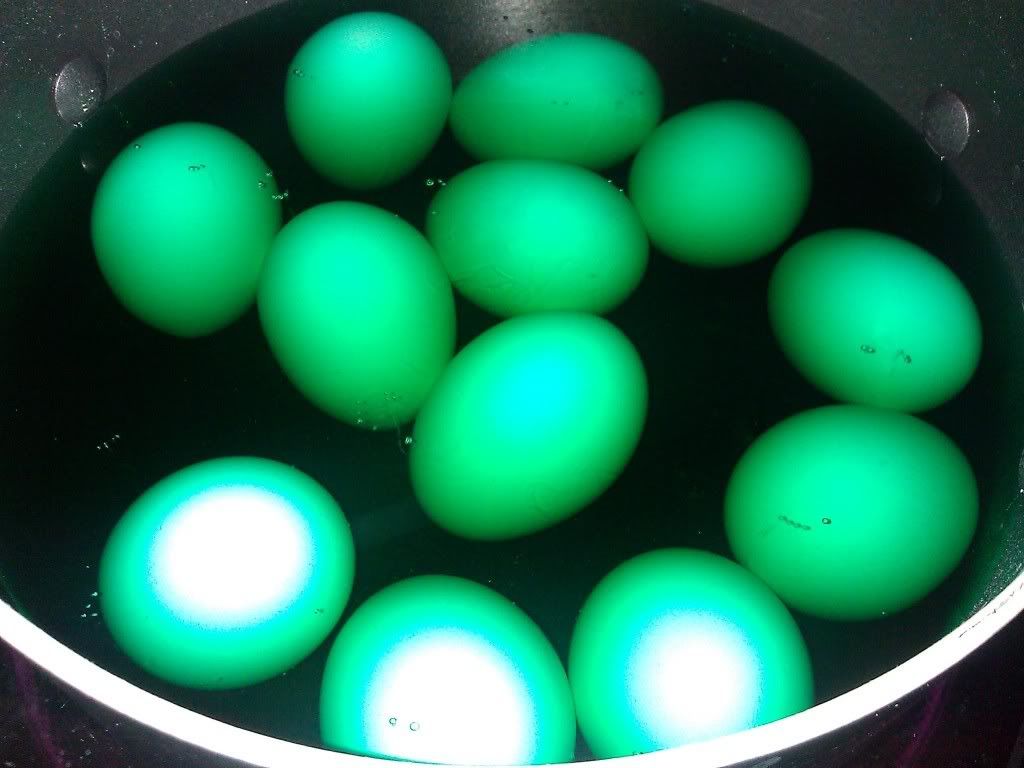
I mentioned earlier that I had made hard boiled eggs. This is something I find myself doing every couple of weeks or so, I tend to go through spurts of eating a ton of hard cooked eggs followed by weeks/months of not even wanting to think about them! For me, I have found the "perfect" technique! First, I start with warm tap water...I "dye" my hard cooked eggs to tell them apart from the raw ones (a great "project" if you have kids running around). I have tried it with cold water and the color just doesn't stick well! I add enough eggs to the pot to form a single layer (this time I didn't add enough eggs and one got broken during cooking because it hit another egg). Then, I get out my trusty box of "food coloring"! I am nearly out of Red, my favorite to cook eggs in, it creates a wonderful pink egg!, after my nephew helped me make "Sunrise Orange" eggs the week he was here (it's on the box in the color chart...3 drops of yellow & 2 drops of red). I always double the amount of drops it requires from the side of "this many drops" that has fewer drops, I forget what it says that many drops are for, but it's not the column for Easter Eggs! I also know from past experience that the blue dye just sort of washes out, leaving the faintest hint of blue behind, making them hard tell distinguish from the white, raw, eggs. I wasn't feeling like trying green eggs, so I took the recipe for "teal" off the box, which is a combination of blue and green. It looked great in the pan, but again the eggs came out with not a lot of color.
How I actually cook the eggs...
- After loading the pot with water, eggs, and dye:
- Bring pot to a boil
- Boil, uncovered, for 10 minutes
- Cover, remove from heat, let sit for another 10 minutes
- Remove eggs to a strainer
- Run under cold water until cooled
- Load your pot with water and eggs (don't bother with the dye)
- Bring pot to a boil
- Boil, uncovered, for 10 minutes
- Cover, remove from heat, let sit for another 10 minutes
- Remove eggs to a strainer
- Run under water until cool enough to handle
- Peel
- Place in a container
- Fill with cool water to cover peeled eggs
- Store in fridge, ready to eat
- Change water daily or every other day, depending on Sulfur levels in your eggs
A story that may only interest me about chemistry...
I took Organic Chemistry several years ago (about 5 years ago now) and one of our labs was to create a pure Vanilla scent. It is a memorable lab because the entire class failed! We all made wonderfully Vanilla scented yellow/white powders, but every lab group failed to create the proper chemical compound as the melting point of everyone's powders was nearly 100 degrees Fahrenheit above the correct melting point! Once we took a full class period (2 hours) to discuss the steps we all took (working in groups of 2), the instructor was talking in a following class about the importance of using fresh chemicals. After that class, she did the experiment herself, using the same materials we had all used and realized the Bleach in the lab was stale! It completely changed the chemical composition of our experiment's end result!
That, of course, has nothing to do with eggs...just a funny story from my "college days"! The "learning experience" my lab partner and I had though has everything to do with eggs! Or the Sulfur smells given off by eggs anyway... When we got down to putting our experiment into a flask to go in the large piece of equipment we were using that day (I forget what it was called, but it was huge and the instructor was running it for us), we failed to wash our flask prior to using it for our experiment! It was a mistake I'll never make again! Once it went into the big machine, the combination of heating and spinning released the chemical residue that was still in the flask from someone else's previous experiment! Our sweet smelling Vanilla scent quickly filled the room with the smell of rotten eggs! In the end, after multiple passes through filter paper, we were able to clear the Sulfur from our experiment and came up with the same result as everyone else in the class...even if ours was distinctly yellow to everyone else's pale yellow or white powders!
No comments:
Post a Comment